写在前面
Hexo是一个快速、简洁且高效的博客框架,我们可以简单部署在Github上来实现一个简单的个人博客,不过可能需要科学上网。
主要步骤
- 注册Github
- 安装Git
- 安装Node.js
- 安装Hexo
- 连接Github与本地
- 开始写博客
欢迎来到
我的博客
注册Github
创建仓库:+ New repository

仓库名称:
xxxxxxx.github.io勾选README

Settings→GitHub Pages→Choose a theme

安装Git
安装Node.js
安装Hexo
- 创建一个文件夹存放博客文件,在该文件夹内右键 Git Bash Here
- 可添加国内镜像源:
npm config set registry https://registry.npm.taobao.org
安装Hexo:
npm i hexo-cli -g
初始化:
hexo init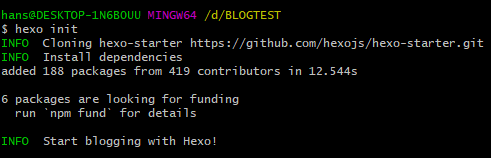
安装组件:
npm install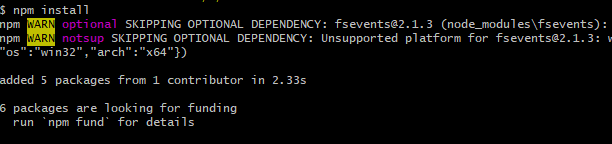
生成静态网页:
hexo g
打开本地服务器:
hexo s

同步Github与本地
输入:
git config --global user.name "用户名"输入:
git config --global user.email "邮箱"
然后生成密钥SSH key:
ssh-keygen -t rsa -C "邮箱"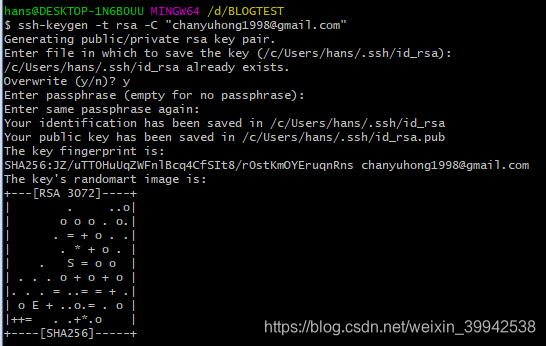
将生成的id_rsa.pub打开,复制内容

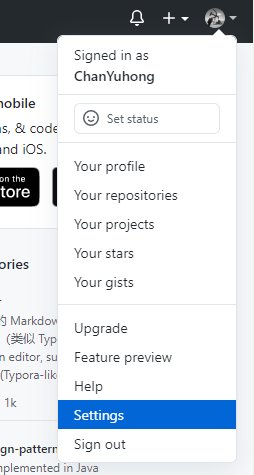
github首页→settings→SSH and GPG keys→new SSH keep→粘贴复制的内容


输入:
ssh -T git@github.com
打开博客的配置文件_config.yml
修改最后一行的配置:
1 | deploy: |

开始写博客
- 首先在博客根目录下右键打开git bash
- 安装扩展:
npm i hexo-deployer-git - 新建文章:
hexo new post "文章名"
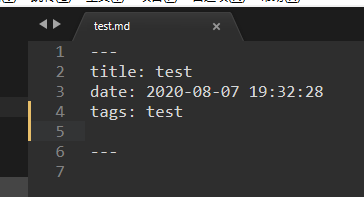
- 编写markdown文件
- 生成静态网页:
hexo g - 打开本地服务器:
hexo s - 上传到github:
hexo d
结尾
这是Hexo+Github博客搭建的简单,还有很多功能可以拓展,有机会以后补充。